
Real Estate Drones
Real Estate Drone Photography: The 12 Shots That Actually Sell Listings
October 20, 2026
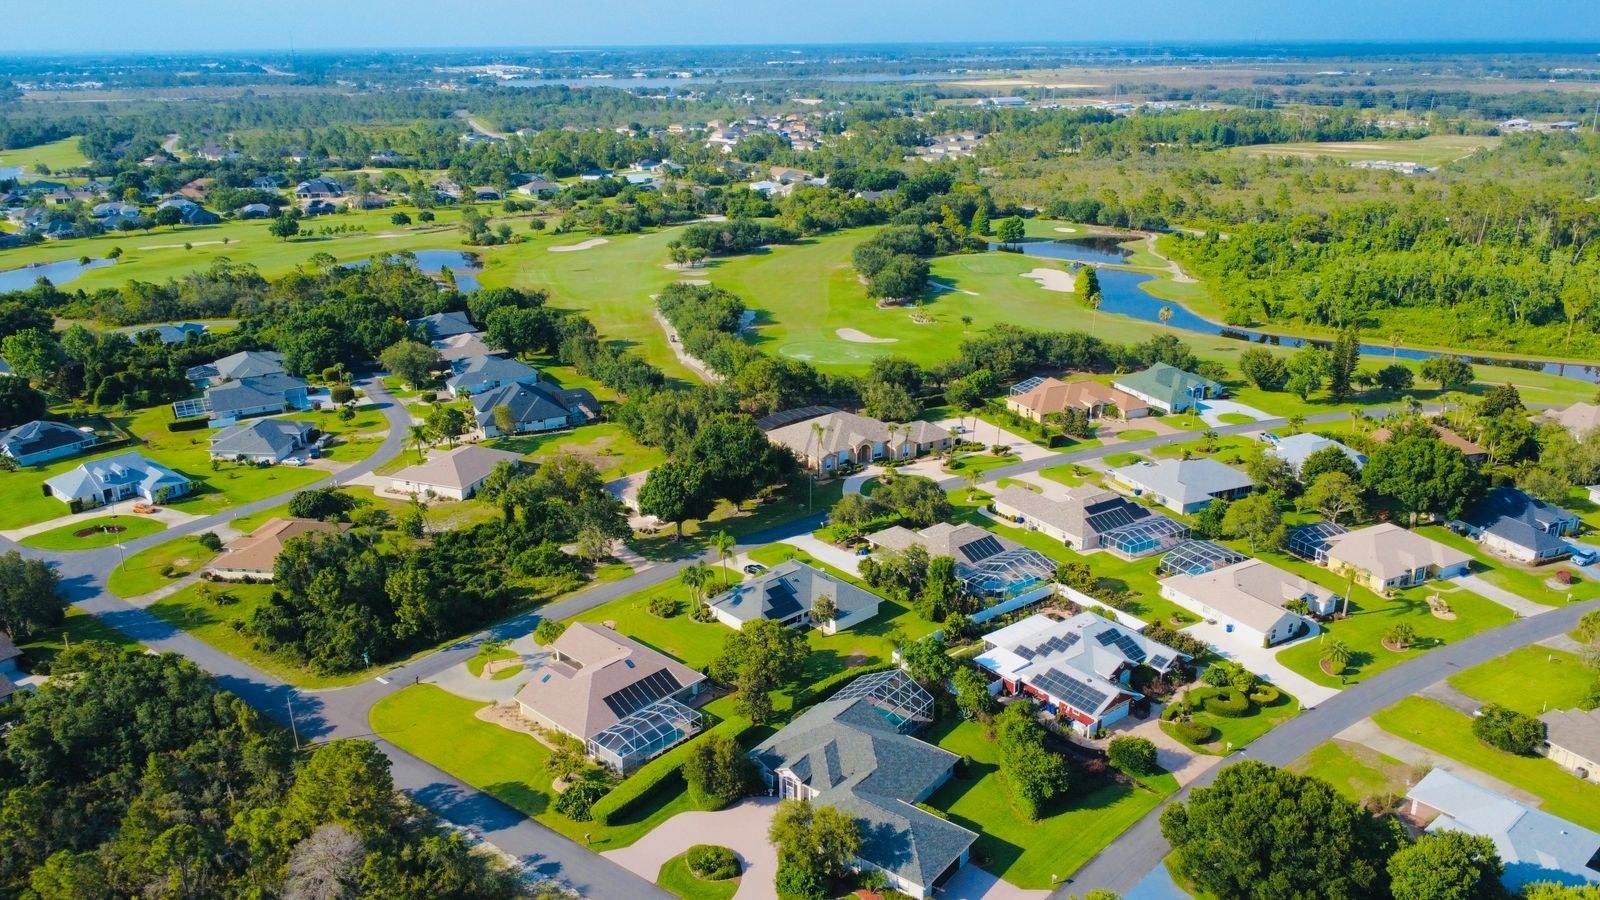
Shoot a few hundred listings and you stop improvising. The shot list converges, because buyers look for the same things on every property and agents reuse the same photos in the same places. This is that list, in the order I fly it, with the reasons. If you are building a real estate drone business, this post is worth more than a new lens.
Quick answer: a complete real estate drone shoot is about 12 core shots: front and rear elevations at low altitude, four corner obliques, a top-down lot shot, street context, a high neighborhood shot, and a couple of feature shots of whatever makes the property special. Fly low more than you think, keep horizons level, and shoot more frames than you deliver.
The core dozen
1. The front elevation, 40 to 60 feet. The money shot. Straight on, slightly above the roofline of the first story, house centered with breathing room. This is the photo that becomes the listing’s lead image more often than any other aerial.
2. The front three-quarter oblique. Same altitude, off the front corner at about 45 degrees. Shows depth, the driveway, the garage face. For most homes this angle is more flattering than dead center, so shoot both and let the agent choose.
3 and 4. The two rear obliques. The backyard sells houses in California. Both rear corners, low enough to show the pool, the patio, the lawn as a living space rather than a green rectangle.
5. The rear elevation. Straight on from behind, especially if there is a view, a pool, or new hardscape. Agents with a good backyard will ask for this one by name.
6. The top-down. Directly overhead at 150 to 250 feet, the whole lot in frame. This is the lot-line shot buyers use to understand the property shape, and the one appraisers and out-of-town buyers study longest. Make sure the entire parcel fits with margin.
7. The roof shot. A slow pass at 30 to 50 feet above the roofline. Not glamorous, but agents use it to preempt condition questions, and it documents the solar panels buyers increasingly ask about.
8. The street context shot. From above the street at 60 to 100 feet, house in the foreground, the street and neighboring homes visible. Buyers are buying the street as much as the house.
9. The neighborhood pull-back. 150 to 300 feet, showing what is nearby: the park, the school, the hills, the water. Every listing has a nearby asset. Find it and put it in frame with the house.
10. The feature shot. Whatever this property has that others do not: the orchard, the RV pad, the workshop, the horse corral. Ask the agent before you fly what made them book you for this one.
11. The golden-hour exterior. If the package includes twilight, the lit home against dusk. Shoot bracketed, because you are balancing interior glow against sky.
12. The safety net. One more pass of the front at a slightly different altitude and angle. Storage is cheap. The drive back to reshoot is not.
Settings and habits that separate pros from hobbyists
Shoot in RAW if your drone supports it, because listing photos get edited hard: lifted shadows on the facade, pulled highlights on bright roofs. Bracket exposures on contrasty days. Keep the horizon level, always, because a tilted horizon reads as amateur in half a second even to someone who cannot explain why. And watch your shutter speed: motion blur from a drifting drone on a dim morning ruins more aerial photos than any other single cause.
Fly slow. The drone’s default speed is for getting somewhere, not for shooting. Slow, deliberate moves give you sharp frames and, on video, footage that does not look like a chase scene.
The mistakes that make aerials look cheap
Flying too high. The number one tell. At 350 feet every house looks identical and small. Buyers want to see the home, not the census tract. Most of your shots should be below 100 feet.
Fisheye horizons. Wide drone lenses bow the horizon at the frame edges. Either keep the horizon centered, correct it in post, or crop it out. A curved horizon on the MLS photo is a billboard for inexperience.
Shooting into the sun at noon. If the schedule forces midday, position so the sun lights the face you are shooting, and bracket everything. A front elevation in full shadow is unusable and the agent will remember.
Delivering everything you shot. Edit ruthlessly. Twenty great photos sell a listing. Forty mediocre ones bury the great ones and make the agent do your editing for you, which they will not do twice.
The unglamorous parts that get you rehired
Check airspace before every shoot. Plenty of residential neighborhoods sit in controlled airspace near airports, and LAANC authorization takes minutes when you plan and ruins your day when you do not. Text the agent when you are wheels down and again when the gallery is delivered. Name files like a professional: address, shot type, sequence. Deliver in 24 hours when you promised 48.
The photography gets you the first booking. The reliability gets you the next thirty. Agents talk to each other constantly, and the pilot who makes their life easier gets recommended in the office group chat. That recommendation is the entire marketing plan for a real estate drone business, and it is earned on the ground, not in the air. Once the shoots are solid, the next question is what to charge, and we cover that in our real estate drone photography pricing guide.
Common questions
- What is the best height for real estate drone photos?
- Most listing shots live between 30 and 150 feet. Eye-level-ish shots at 30 to 60 feet show the home as buyers will experience it, while 100 to 150 feet is for lot lines, rooflines, and neighborhood context. Blasting to 400 feet makes every house look like a toy.
- What time of day is best for real estate drone photography?
- Mid-morning and late afternoon give you soft shadows and dimension. Harsh noon sun flattens everything and puts hard shadows under eaves. Twilight shoots cost more and earn it: a lit interior against a blue dusk sky is the single most effective listing photo there is.
- Do I need the homeowner's permission to fly over a listing?
- You need the seller’s permission, which the agent arranges, and you should be thoughtful about neighbors. You can legally fly over neighboring property from public airspace in most cases, but a low drone over a neighbor’s yard during their barbecue is how complaints and local ordinances start. Keep it professional and brief.
- How many photos should a real estate drone package include?
- Fifteen to twenty-five edited stills is the working standard. Fewer looks thin on the listing page, more dilutes the good ones. Every photo in the set should earn its place: if two shots say the same thing, cut one.